
Best Flooring Nailer: Nailing Hardwood Floors How to Guide
On this page11 sections
Investing in the best flooring nailer guarantees tight board joints and superior structural stability across entire subfloor installations. Unlike a standard brad nailer or framing nailer, a dedicated floor nail gun engages the board edge directly.
Using a heavy mallet to actuate the firing cap clamps the hardwood flooring tightly before driving barbed cleats. Maintaining correct pressure on your air tools ensures every fastener sinks flush into the subfloor without board deflection.
Read this article to learn how to use a flooring nailer and understand the full process of nailing hardwood floors properly.
What is a flooring nailer?
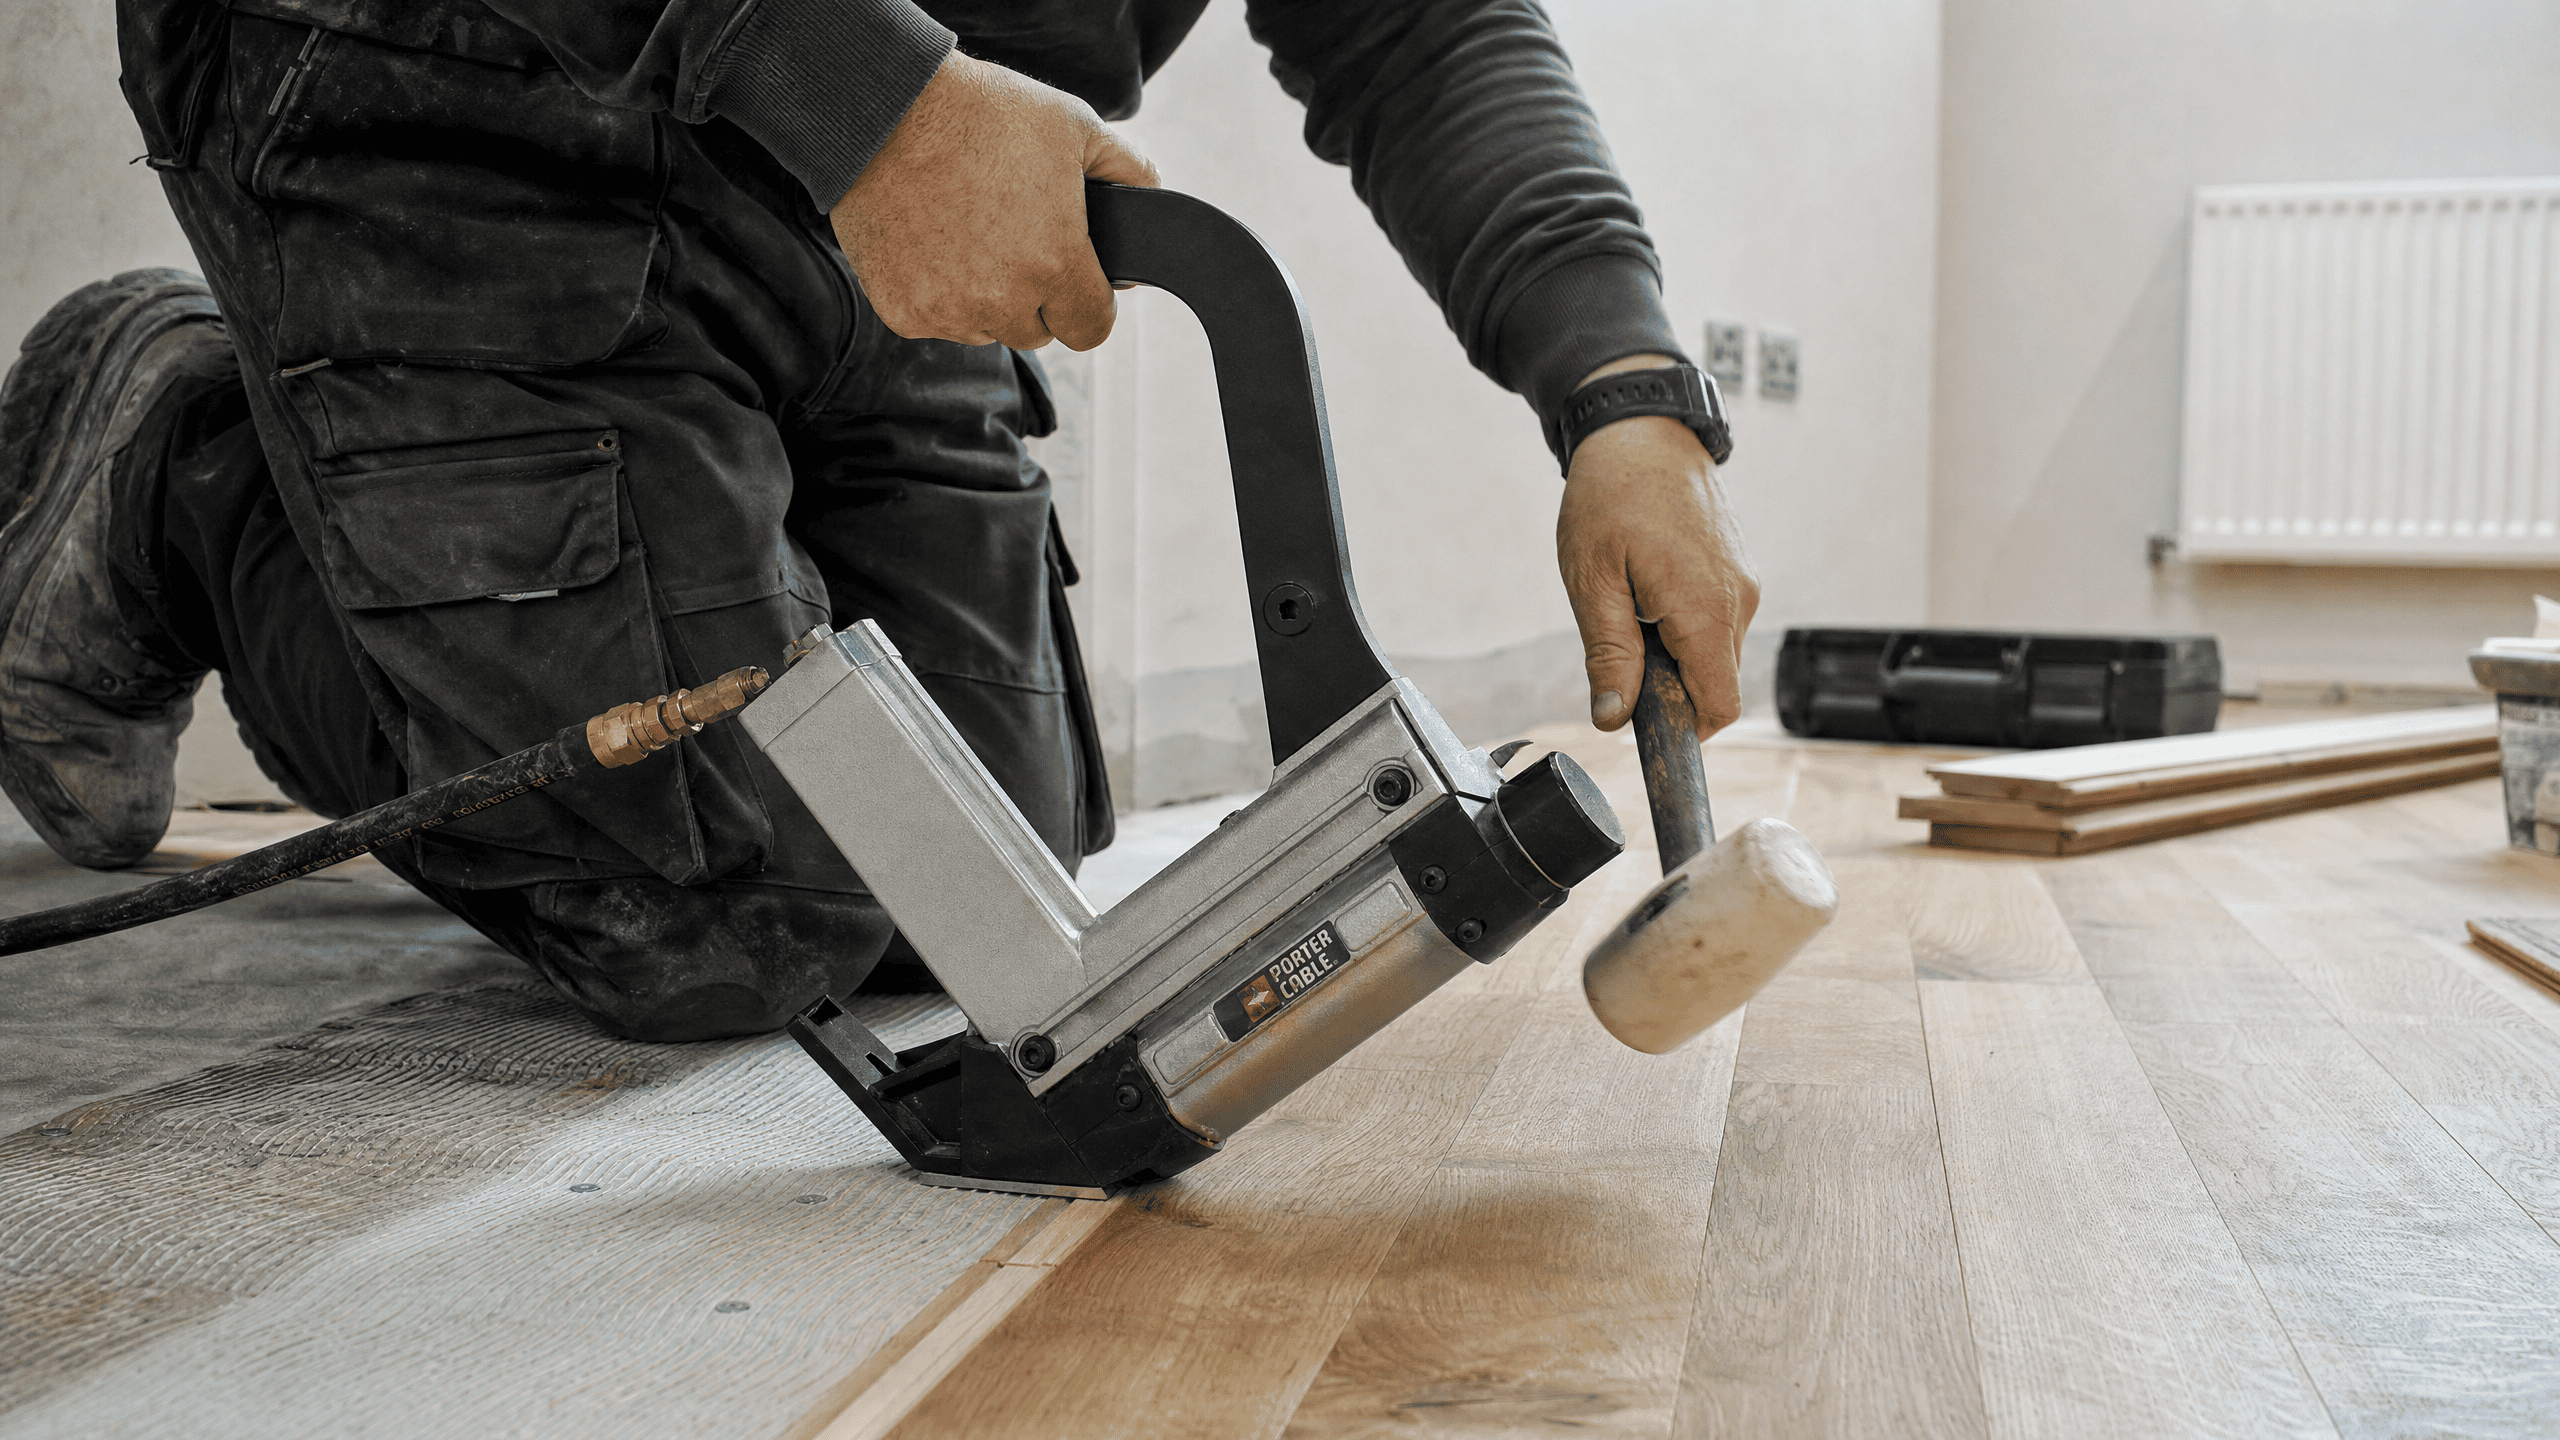
This tool acts as a purpose-built installation driver designed to fasten solid hardwood flooring without exposing fastener heads. The flooring nailer body rests securely on the board edge using interchangeable base plates matched to timber thickness. When you strike the actuator cap, the flooring nailer transfers mechanical force into both board clamping and fastener drive.
The nailer shoots heavy cleats through the tongue area directly into the underlying joists or subfloors. Operating a pneumatic floor gun ensures uniform sinking depth, which avoids tongue cracking and eliminates the need for top face filling. You may hear the term “cleat nailer” used. This is a specific type of flooring nailer, so in the trade the terms are often used interchangeably.
Best flooring nailer benefits
Listed below are the main benefits to expect from investing in a top-quality flooring nailer:
| # | Benefit | Description | Key advantage |
| 1 | Concealed fastener placement | Driving cleats through board tongues hides fixing heads beneath finished floor surfaces | Preserves pristine timber face appearance |
| 2 | Consistent driving power | Connecting your driver to an air compressor ensures reliable fastener penetration | Delivers uniform countersinking into subfloors |
| 3 | Faster site progress | Utilising an efficient floor driver speeds up daily board installation across contracts | Reduces total site labour time significantly |
| 4 | Maximum clamping action | Striking the driver plunger with a rubber mallet draws adjacent boards tight before firing | Eliminates gaps between hardwood planks |
| 5 | Reduced board splitting | Fine-tuning shoe settings prevents tongue fracturing and costly timber wastage on site | Protects delicate tongue-and-groove profiles |
| 6 | Superior structural holding | Barbed L-cleat fasteners anchor boards permanently into underlying subfloor sheets | Prevents annoying floor squeaks over time |
| 7 | Unmatched joint precision | Setting precise shoe depth alignment ensures every fastener sinks flush into pockets | Allows seamless next-board insertion |
| 8 | Versatile timber handling | Handling solid oak or engineered planks becomes straightforward with a dedicated floor nailer | Adapts to varying board thicknesses easily |
How to use a flooring nailer (pneumatic model assumed) for nailing hardwood floors
Follow these steps for a highly safe and successful flooring project using a pneumatic nailer:
- Wear PPE safety clothing – use wrap-around eye protection and steel toe-cap boots before handling pneumatic air tools
- Tool shoe inspection – inspect the base plate and driver area, wiping away wood dust before placing the tool on timber
- Verify your cleat stock – select the correct gauge L-shaped or T-shaped cleats matching your board’s thickness
- Join the feed line – snap the quick-release coupler onto the tool inlet tail until it locks securely into place
- Operating parameters setup – set your air compressor regulator pressure between 70 and 90 PSI for consistent driving power
- Load the magazine – slide a stick of cleats into the feeder track, then engage the spring pusher clip gently
- Tune the flush finish – adjust the base plate depth shoe so fasteners sink below the tongue without cracking timber
- Align the timber boards – slot the tongue into the groove cleanly, ensuring the board sits tight against previous rows
- Position the tool shoe – seat the angled shoe plate firmly over the exposed board tongue at a 45-degree angle
- Initiate the first shot – strike the rubber mallet directly onto the plunger cap for driving nails into the subfloor
- Run the installation lines – move systematically down the plank length, striking the actuator at regular 10 to 12-inch intervals
- Evaluate your structural joints – check that every cleat sits flush in the pocket without hindering the next board fitment
- Isolate the line pressure – disconnect the pneumatic hose line before leaving the tool unattended or performing site maintenance
What is a flooring nailer used for?
Ten typical applications for a flooring nailer are:
- Engineered flooring installation – setting accurate pneumatic pressure stops heavy driver blades from punching all the way through fragile board tongues
- Hardwood flooring installation – operating a pneumatic driver lets carpenters install dense structural timber quickly. They are ideal for nailing hardwood floors with no need at all for a manual hammer
- Parquet block installation – securing smooth subfloor sheet bases ensures parquet installers work on clean timber without trapped dust or dirt
- Plywood subfloor fixing – fastening ply sheets with pneumatic floor drivers creates a solid subfloor foundation for any domestic house
- Solid oak flooring – driving heavy cleats through dense timber requires high pneumatic force to maintain tight joints across every row
- Sports hall flooring – robust pneumatic drivers ensure continuous, reliable operation without tool break issues on site
- Stair tread installation – fixing stair treads accurately demands steady tool support to prevent timber movement across critical tread board joints
- Timber flooring repairs – reviewing practical site tips allows floor fitters to replace damaged boards cleanly without disturbing nearby timber
- Tongue-and-groove flooring – fastening planks through the tongue profile conceals every nail head completely, creating an immaculate finished timber floor
- Underlay board fixing – using a battery driver or pneumatic tool simplifies securing thin subfloor sheeting before final timber board fitting
Flooring nailers available from Betco Fasteners
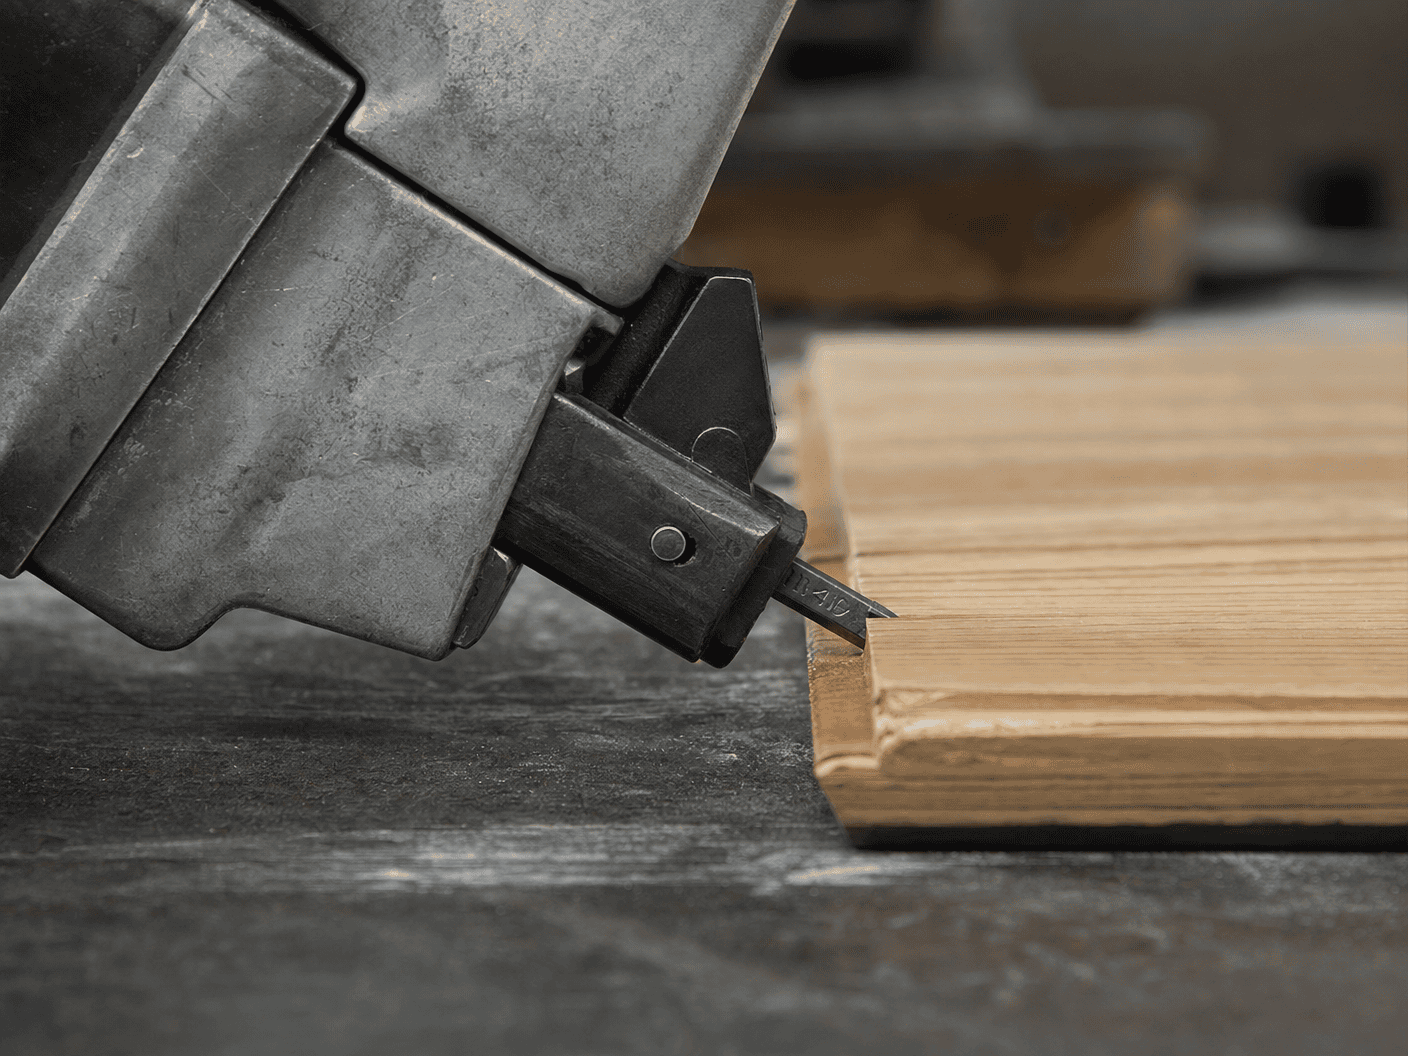
Users renting professional-grade flooring nailers can save money for one-off projects. If, however, you use them on jobs regularly, it will pay to buy one. Here are three models available to buy on our site.
1) Betco CN45 Flooring Coil Nailer & Compressor Kit (240V)
This complete subfloor kit pairs a high-capacity coil nailer with a silent 240V air compressor. It drives coil nails efficiently when fixing hardboard or ply sheets before laying timber boards. You get a flexible air hose and a low-noise unit that runs quietly inside any house. It offers top-quality performance without needing to borrow heavy site gear from other trade professionals.
2) Maestri MC606 Cordless Flooring Staple/Nail Gun (15-25mm)
This portable electric driver eliminates air lines completely while securing ply underlayments and carpet grippers. It fires narrow crown fasteners or slim pins directly near the wall without requiring a heavy hammer. You can complete a whole room without any worry about trailing lead trips on site. It is ideal for rapid carpentry prep.
3) Spotnails SE30/08 Professional Electric 21G Flooring Pinner (15-30mm)
This 21 nail gauge pinner is built specifically for neat perimeter beadings and scotia trims. The slender nose profile gives excellent access into tight corners where standard guns struggle. It fires slight-headed pins smoothly through maple or oak profiles with impressive precision. Adjust the pin length easily to prevent surface cracking across every row.
The all-important role of flooring nails and staples
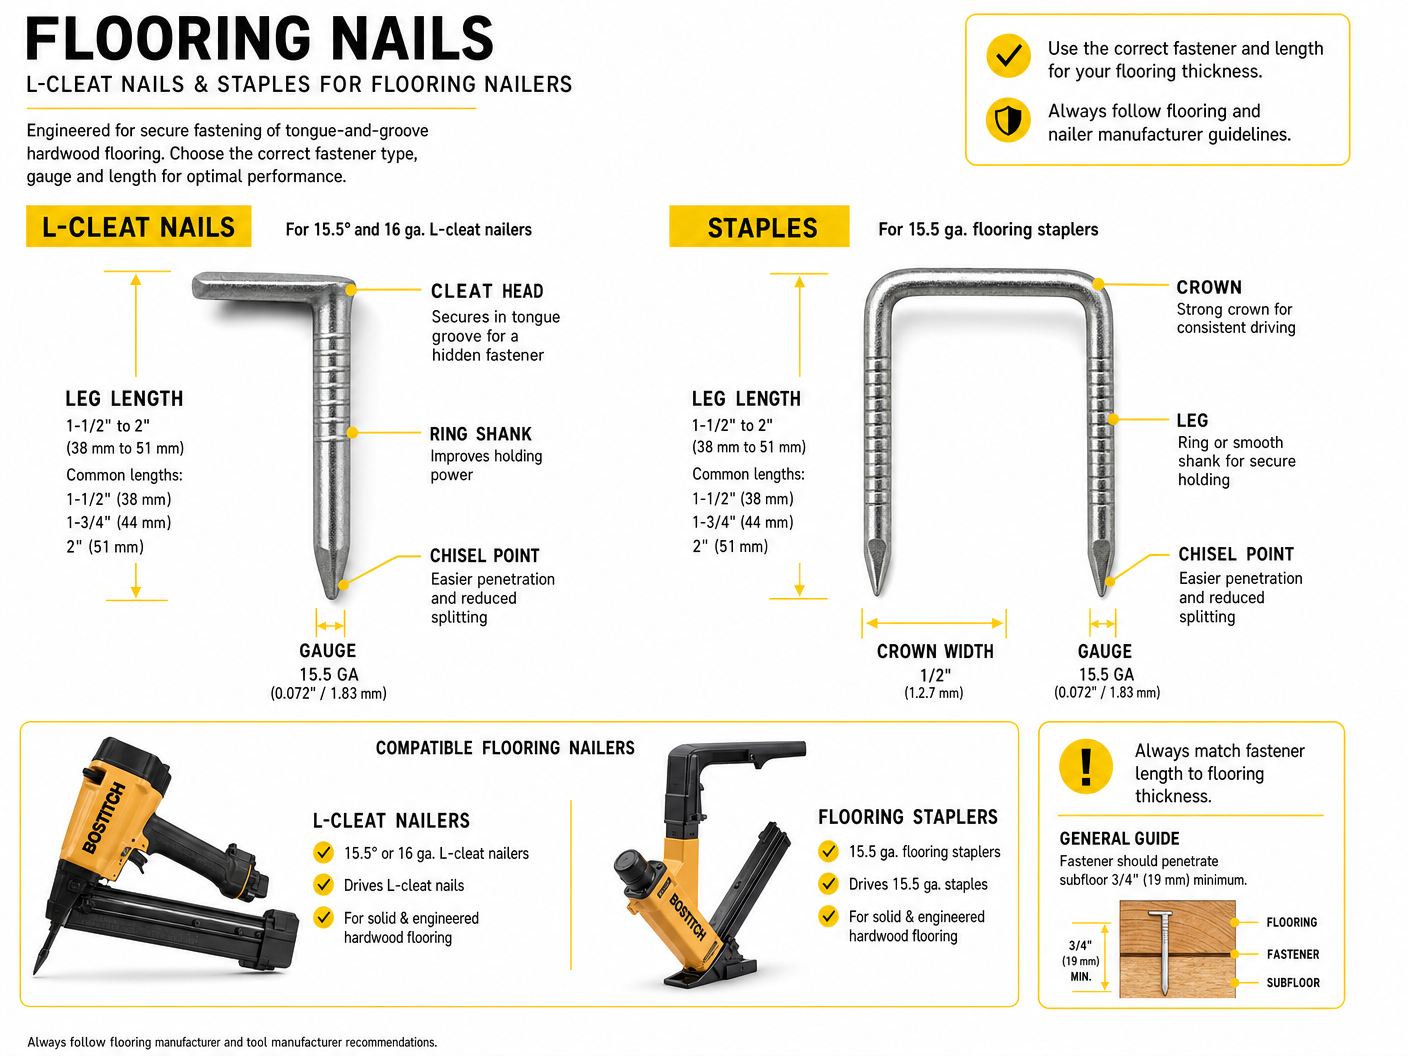
This informative graphic below shows fasteners (nails and staples) and tools engineered for tongue-and-groove hardwood floor installations:
Flooring nails – the options
| Fastener | Compatible tool | Key features | Length & application rules |
| L-cleat nails | Designed for 155° and 16-gauge L-cleat flooring nailers | Features a cleat head, ring shank, and chisel point for secure holding | Available in leg lengths from 1-1/2″ to 2″ (38–51 mm) |
| Staples | Suited for 155-gauge flooring staplers | Features a 1/2″ crown width and dual chisel points for consistent driving | Available in leg lengths from 1-1/2″ to 2″ (38–51 mm) |
| Fastener dimensions | Applies to both L-cleats and narrow crown staples | Manufactured in standardised trade gauges for tongue-and-groove boards | Ranges from 1-1/2″ to 2″ (38–51 mm) in total leg length |
| Installation guidance | Requires matching fastener length directly to board thickness | Ensures optimal holding power without damaging subfloor structures | Demands at least 3/4″ (19 mm) minimum subfloor penetration |
Contact us
We hope you have enjoyed this best flooring nailer guide. Our friendly UK team is here for advice about related topics such as buying cleat nails, the best models to choose from, or alternative products such as a finish nailer or stapler gun.
Contact methods to choose from are:
- By phone – 0121 552 8400
- By email – send to sales@betcofasteners.com
- Contact form – our Contact Us page